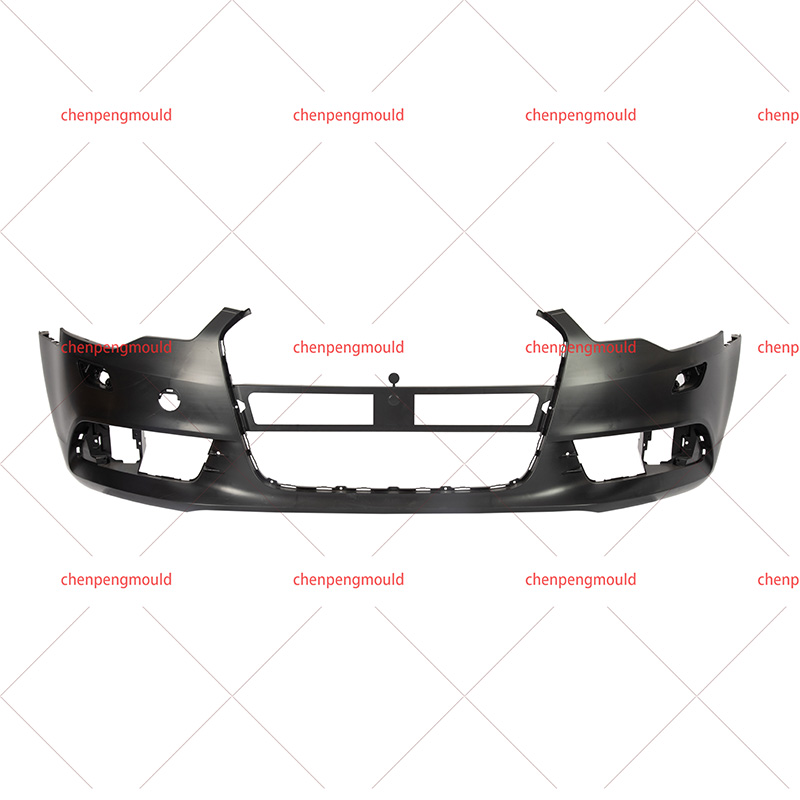
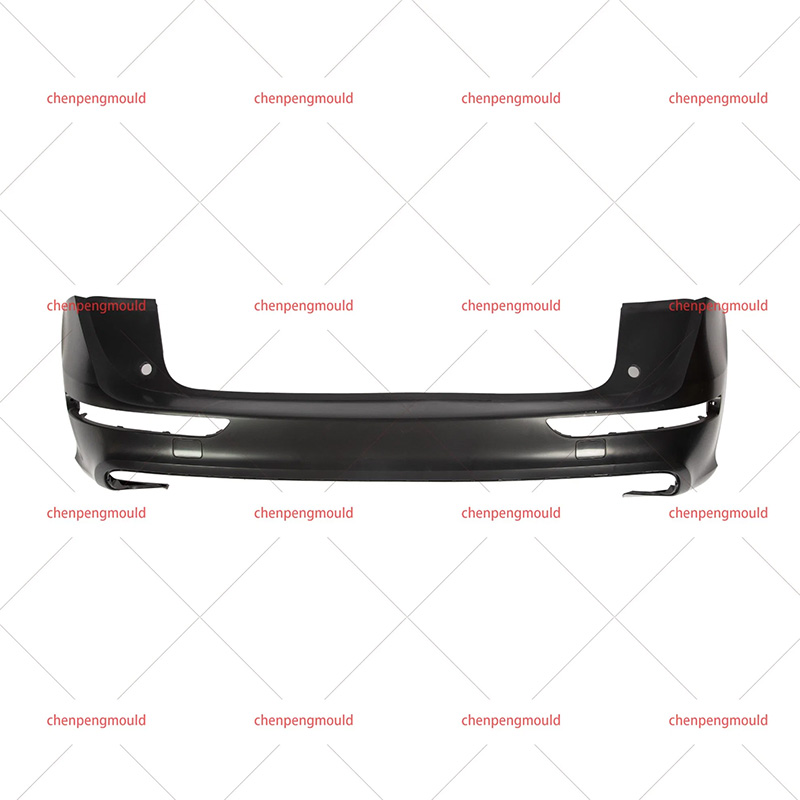
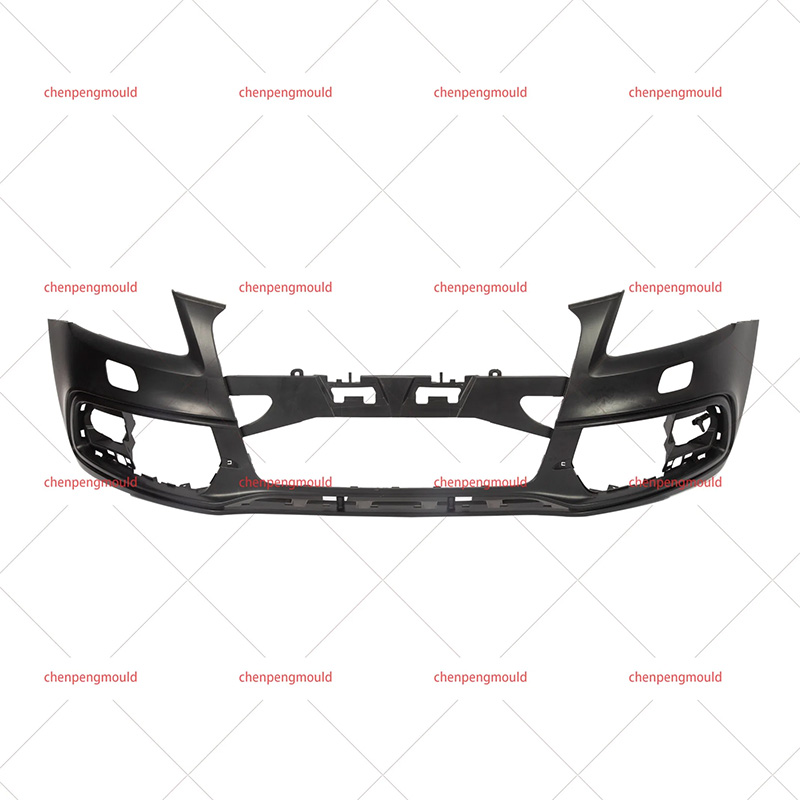
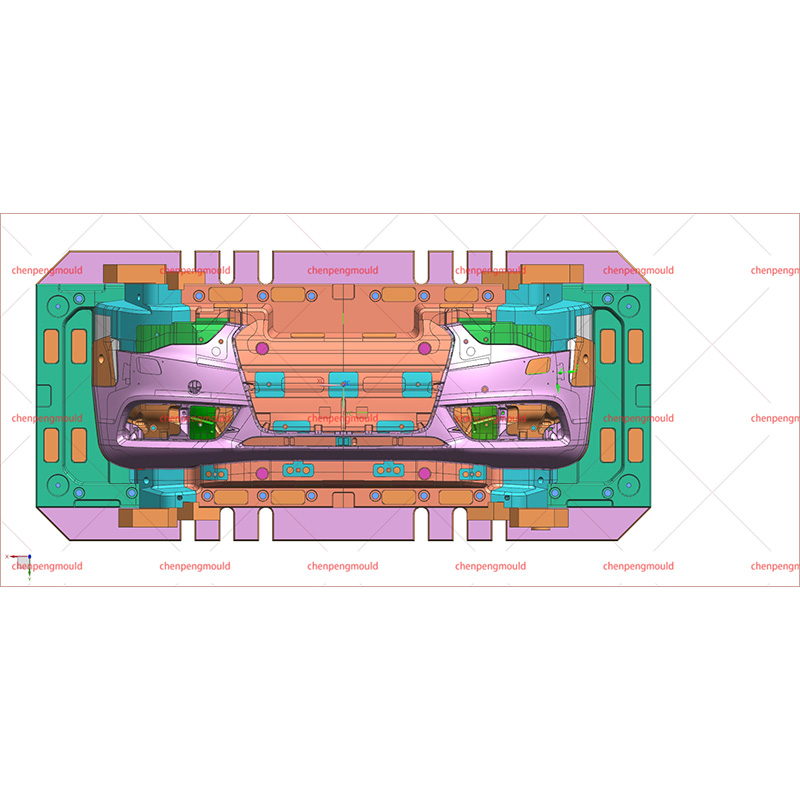
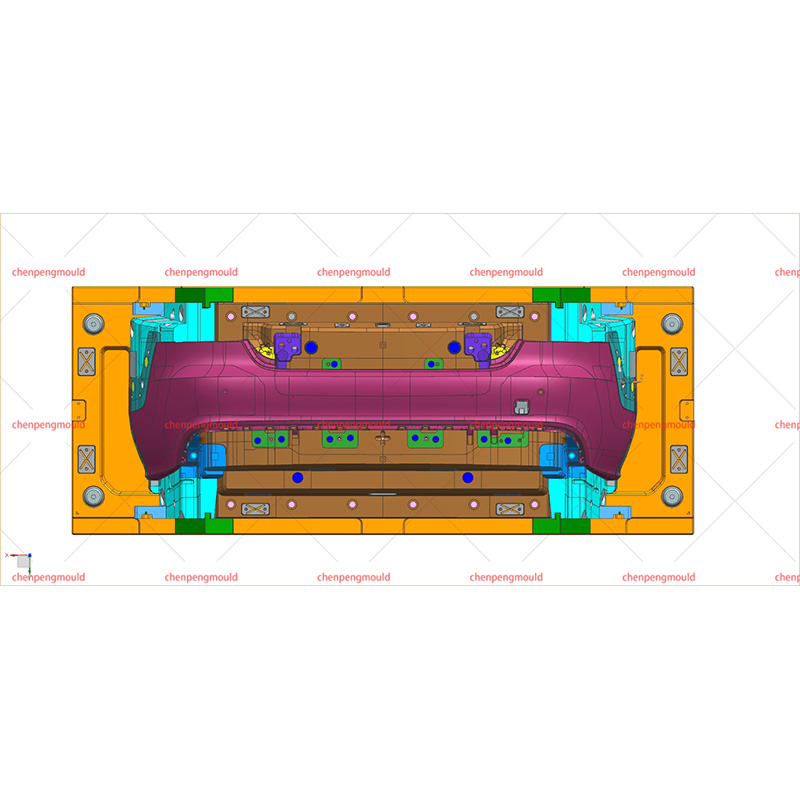
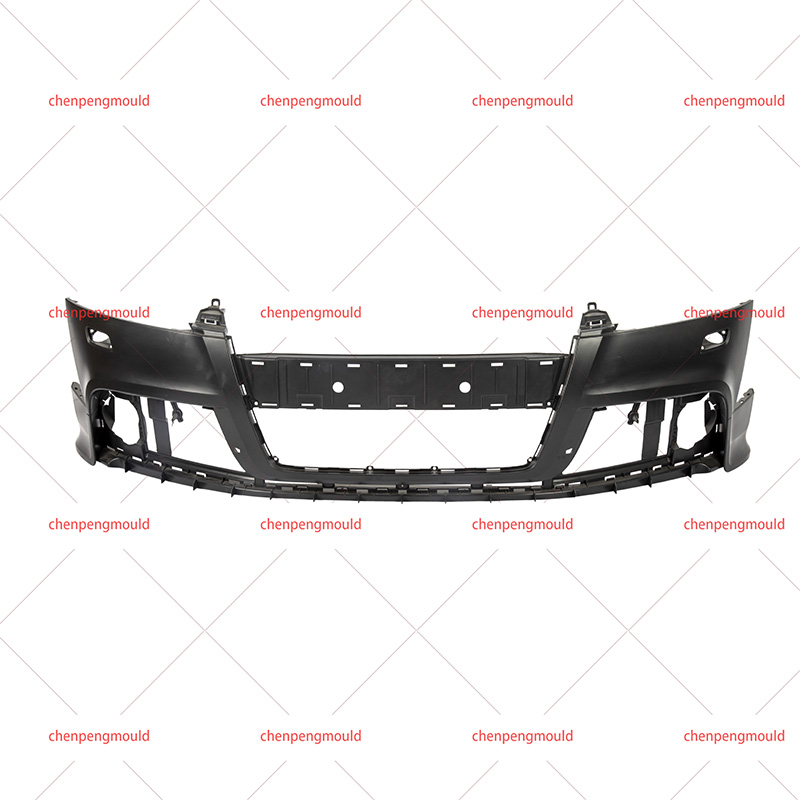
The allure of Chrome Bumper Molding on cars is undeniable, adding a touch of sophistication and style to the vehicle's exterior. However, over time, wear and tear or damage may necessitate the replacement of the chrome strip on the molding. The question that arises is: Is it easy to replace the chrome strip of Chrome Bumper Molding for cars later?
Understanding Chrome Bumper Molding for Cars
Before diving into the replacement process, it's essential to understand the composition of Chrome Bumper Molding for cars. Typically, these moldings consist of a base material, often plastic or metal, with a chrome-plated strip that runs along the surface. The chrome strip serves both aesthetic and protective purposes, enhancing the visual appeal of the car while providing a durable layer against environmental elements.
Factors Influencing Ease of Replacement
Several factors come into play when considering the ease of replacing the chrome strip on Chrome Bumper Molding for cars:
1. Design Complexity: The design of the bumper molding plays a crucial role. Some moldings have a straightforward design with easily accessible attachment points, while others may be more intricate, requiring meticulous attention during the replacement process.
2. Attachment Mechanism: The method used to attach the chrome strip to the molding varies. Some may have adhesive backing, while others may be secured with clips or screws. The type of attachment mechanism significantly influences the ease of replacement.
3. Access Points: Accessibility to the chrome strip attachment points is a key consideration. If the molding is easily accessible and removable, the replacement process is likely to be more straightforward. However, if the strip is integrated into a complex structure, reaching the attachment points may pose a challenge.
4. Material Compatibility: The compatibility of the replacement chrome strip with the existing molding material is essential. Ensuring that the new strip aligns seamlessly with the molding material contributes to a cohesive and visually appealing result.
Step-by-Step Replacement Process
Step 1: Assessment
Begin by assessing the condition of the existing chrome strip and identifying any damage or signs of wear. Understanding the attachment mechanism and design of the Chrome Bumper Molding is crucial at this stage.
Step 2: Gather Materials
Acquire the replacement chrome strip, ensuring that it matches the design and dimensions of the original. Gather any tools or materials needed for the removal and installation process.
Step 3: Removal
Carefully remove the damaged or old chrome strip from the molding. Depending on the attachment mechanism, this may involve peeling off adhesive, unscrewing screws, or releasing clips. Exercise caution to avoid causing additional damage to the molding.
Step 4: Surface Preparation
Clean the surface of the molding thoroughly to ensure proper adhesion of the new chrome strip. Remove any adhesive residue or contaminants that may hinder the bonding process.
Step 5: Installation
Align the replacement chrome strip with the molding, following the original design. Secure it in place using the appropriate method, whether it involves adhesive application, screwing, or clipping. Take care to ensure a snug fit and proper alignment.
Step 6: Finishing Touches
Once the new chrome strip is securely in place, inspect the entire Chrome Bumper Molding for cars to ensure a seamless integration. Make any necessary adjustments to achieve a polished and cohesive appearance.
Potential Challenges and Tips
Challenge 1: Adhesive Residue
If the original chrome strip was adhesive-backed, removing residue can be challenging. Use adhesive removers or isopropyl alcohol to dissolve the residue without damaging the molding material.
Challenge 2: Complex Designs
For moldings with intricate designs or hidden attachment points, refer to vehicle manuals or seek professional advice. Some designs may require specific techniques or tools for successful replacement.
Challenge 3: Material Incompatibility
Ensure that the replacement chrome strip is compatible with the molding material to prevent issues such as corrosion or mismatched aesthetics.
While the process may pose challenges, careful assessment, proper preparation, and attention to detail can result in a successful restoration of the chrome strip. Whether for aesthetic enhancement or repair purposes, replacing the chrome strip offers car enthusiasts an opportunity to revive the visual appeal of their vehicles and maintain the charm of Chrome Bumper Molding for cars.


 +86-18357617666
